Save hundreds of dollars by painting your countertops instead of replacing them.
Countertops play a big role in your kitchen and bathroom decor. A slight change in your countertop’s color will drastically affect how you view the entire room.
You need to be careful when deciding what kind of paint to use on countertops. Your countertop’s color needs to match the walls and furniture.
You also want a color that will give your countertop a natural (almost mystic) look. What better way to achieve this than with the all-season white?
Do you need some inspiration? Check out Ceasarstone collections of white quartz countertops. Their variations and shades are simply breathtaking!
Step 1: Do some research
Go for some sightseeing before picking up your paintbrush.
We’d suggest checking out countertop colors and designs on Pinterest. It’s better to approach this with an open mind and explore what is out there before settling down.
Painting countertops might be relatively easy, but it’s also time-consuming. A small mistake and you’ll have to start the process all over again.
Step 2: Gather your supplies
These are all the materials and equipment you’ll need:
- A grit paper (Preferably 150 or 220-grit rating)
- A 4-inch foam roller
- A paint tray
- An oil-based primer
- Latex gloves
- Water-based acrylic topcoat
- Water-based acrylic paint
- Mineral spirits (To wipe grease and dirt off your kitchen countertop)
- Painter’s tape
Step 3: Prep your countertop
Start by covering the floor, furniture, and appliances with plastic or cloth to prevent staining. Use your painter’s tape to cover the wall next to the counter. Take your time and make sure you seal all the spaces to prevent paint from trickling down the walls.
A screwdriver will help in removing old caulking all around the countertop. Be careful not to damage your wall.
Take a piece of cloth and dip it in warm water with soap and wipe the countertop to remove all the grease and dirt residue.
If your countertop has cracks or holes, make sure you fill them with wood chips (if you have a wooden countertop) or epoxy putty.
Next, gently sand the countertop with a 150-grit paper to have it ready for priming. Sanding smoothens the surface and leaves it open and ready for primer and paint adhesion.
Once again, use your mineral-drenched cloth to clean the surface and remove all the dust build-up.
Step 4: Prime the surface
Primers are applied to help the paint stick to the countertop.
You’re advised to use an oil-based primer. Water-based primers aren’t suited for heavily used surfaces (like kitchen countertops) and the paint is likely to peel off after some time.
Make use of your foam roller to apply an even coat all over the countertop surface.
DON’T prime using a paintbrush. It will leave conspicuous brushstrokes that will spoil your intended design and your countertop will look all messed-up and ugly.
Once you’re done, leave the countertop for at least 6 hours for the prime-coating to dry up.
You should consider leaving your windows open for ventilation. Trust us, this stuff reeks!
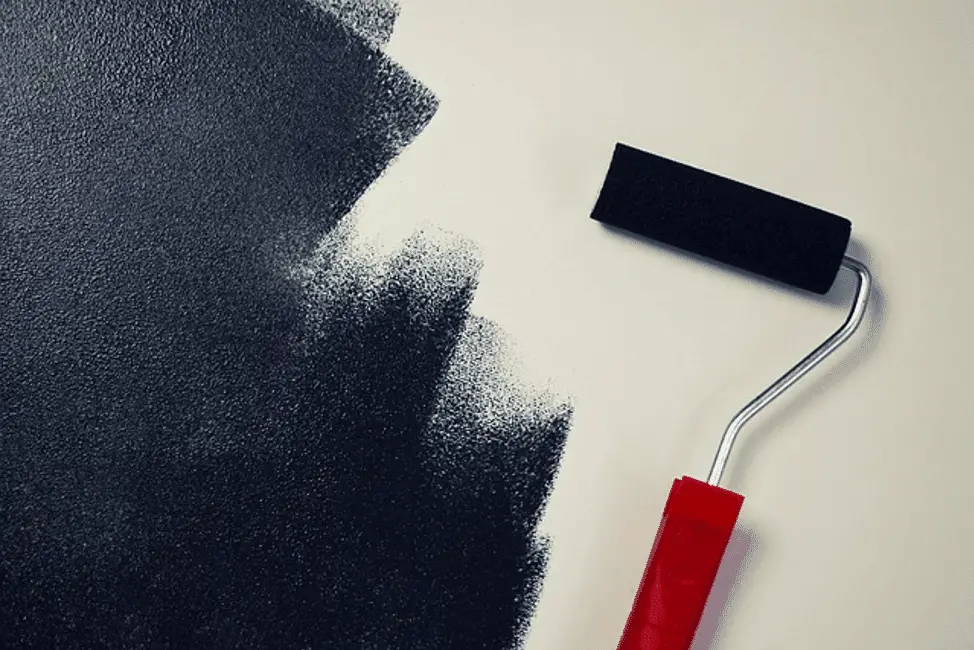
Step 5: Apply your paint of choice
Use spray paint if you’re painting your countertops to look like granite. You’ll have to use several shades of paint from dark to bright as per your preference.
Spray paints will help you get creative with your designs. Some are even textured to give your countertop a bit of granite’s looks and feel. Who knows? You might even come up with your own countertop design.
The base coating should cover the entire countertop.
Go crazy with the remaining layers. You can choose to spraypaint random colors or dab them with cotton to produce unique designs and patterns.
Allow the color coatings to dry before moving on to the next step.
Step 6: Apply a Topcoat
Once your designs have dried up, apply two layers of clear Topcoat to seal the paint and give the surface a glossy look and smooth texture. It also protects the paint underneath from damage and stains.
Apply the first coat using your 4-inch foam roller and take a 4-hour break before applying the final layer.
Leave your countertop untouched for the next 24 hours. Even then, cautiously use your countertop and avoid placing heavy appliances on it. Water-based acrylic topcoats have a cure period of around 2 weeks.
Change of heart?
Nobody is perfect and something might go wrong. If this happens, you can always go back to step 3 and start the process all over again.
Painting countertops is a simple and quick process you can go over whenever you want to.
Maintaining your painted countertops
Use a color-matched repair pen to camouflage defects like cracks and chippings.
If the damage is serious, use laminate repair paste to fill the holes and gaps. Be careful not overfill them (You don’t want to end up with an uneven surface).
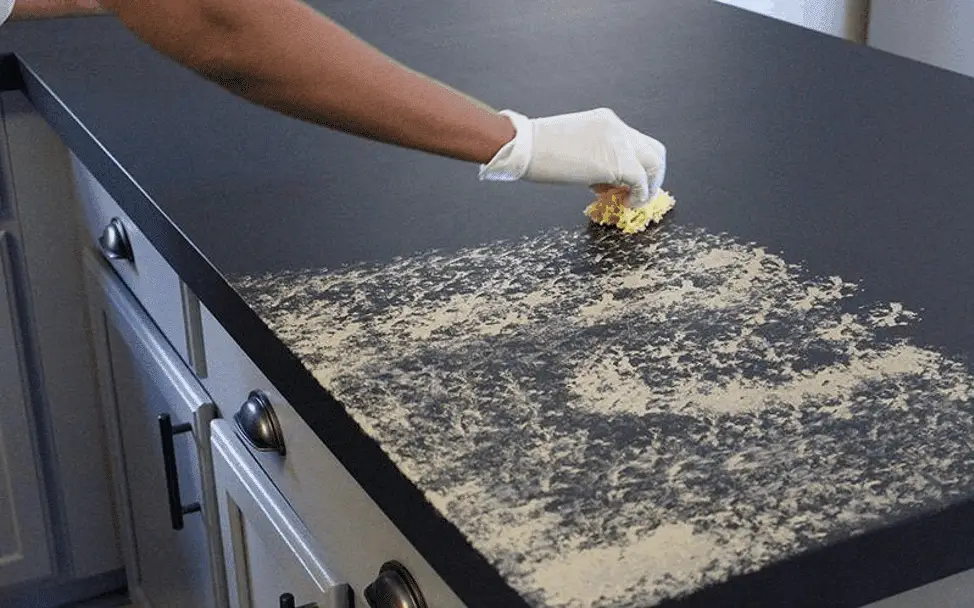
Use a secret paste made from baking powder and water to remove tough stains. Don’t scrub, just apply and give it some time to work on the stain, and gently wipe it away.
Don’t use nail polish on your bathroom or kitchen counter. It will peel off the paint.
