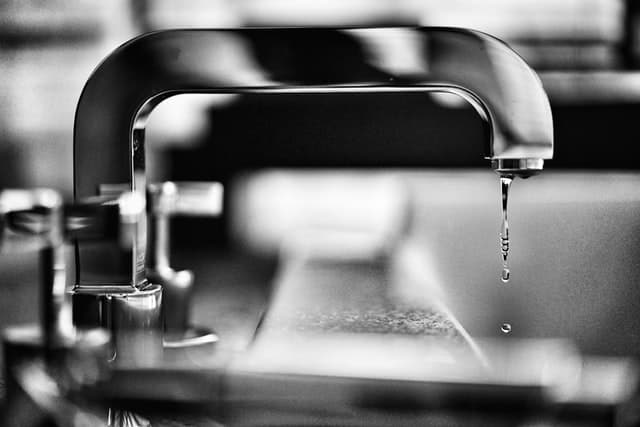
Leaky faucets are one of the most common issues that any householder will face. The good news is that these are generally easy to fix. You can complete the job yourself in less than an hour.
Of course, you are dealing with water that has the ability to flood your home and cause serious damage. If you have any concerns it’s a good idea to get a reputable plumber Sydney to do the job for you.
The sound of a dripping faucet can be infuriating. But, you may not appreciate how costly it can also be. A slow drip from your faucet can cost you as much as $20 per month! That’s why you need these 5 simple steps.

- Shut Off The Water
You should know where your main shut off valve is. If there isn’t an individual valve on your faucet you’ll want to turn the main one-off. An individual one s better as it will just shut the water off to the faucet, but it will depend on how your plumbing system is designed.
Don’t forget this step, if you do you’ll have pressurized mains water pumping into your home!
- Remove Top of Faucet
On top of your faucet, you’ll notice a decorative finish. It may be a color-coded disc or an ornate special effect. Get a small flat-head screwdriver and gently prise this off. It will just pop off but you don’t want to damage it, do it slowly.
Under this will be a screw that holds the top of the faucet in place. Unscrew this and the handle should slide up and off.
- Packing Nut
Under the handle will be a packing nut and the main stem. This is the piece that connects the head of the tap to the valve that controls on and off. Both of these should slide up and off easily. Of course, if your faucet has been in place for a long time they may be stuck. You’ll have to gently slide the up to remove them.
- Washer Replacement
Under the stem and nut, you’ll see an O-ring and a washer. This is the cause of your drip. It’s normal for it to wear out after years of service. Simply lift them off and replace them with new ones from your local hardware store.
You’ll be pleased to note these are usually a universal size. However, to play safe it’s advisable to remove the o-ring and washer and take them to the hardware store with you.
- Put It Back Together
That’s it! You now have to put your faucet back together. Start by positioning the O-ring and washer correctly. Then slide the stem and packing nut on before placing the faucet head back into position.
Tighten the screw to hold the head where it needs to be and then gently push the decorative top back onto your faucet.
It will look like it’s never been touched and you can turn the water valve back on. The drip should have stopped!
