Airbrushing is an artistic technique of application by spraying or aerial blurring of paint on a surface or object. It is similar to the application by spray in the making of graffiti, but in this case, it uses a tool called an airbrush for the application. However, most people have never heard about this technique and unaware of its existence in the modern painting era. Therefore today, we dedicate this article to those who don’t know about airbrush art. In this post, you will get to know that from where this technique came from, the tool used for airbrushing, and how to use it. Read this airbrush guide to master the airbrushing technique.
History Of Airbrush Art
In 1879, it was the beginning of discovering a new airbrush technique by a genius named Abner Peeler. However, he was not alone in developing this technique. Peeler was credited with inventing this tool with various experiments, and then this tool was patented and sold to Liberty Walkup from the Walkup Brothers company around 1883. Initially, this tool was called a paint distributor.
In 1883 Liberty Walkup founded a factory which was named the airbrush manufacturing company. That’s when the airbrush was introduced to the public. Furthermore, an American artist named Charles L. Burdick succeeded in inventing an airbrush tool in an internal mix pen in 1893. Burdick was a person who had contributed to developing Peeler’s invention, which is shaped like a pen so that it became easy to use.
Since the 1900s, when Burdick moved to London and founded a Fountain Brush company, with his friends, he continued to develop and improve. Until a Norwegian arms maker named Jean Paasche in 1904 found a new model. Paasche’s invention is the Turbo model, which is the result of developing the Walkup model. The Paasche incorporating an external paint mixer later became the hallmark of the Paasche model. This airbrush technique has become more and more recognized since Walt Disney Studios used it as an animated background. At the time of making the animated film Pinocchio in 1940, the water brush technique provided a more realistic light and shadow effect.
In 1960, a new revolution began in the field of an airbrush. And these techniques have been developed not only for realistic images but also began to enter the world of surrealism and fantastic images for industrial use. The object that becomes the inspiration for airbrushes is growing. Their use is increasingly widespread from science fiction to commercial posters. Because through the use of airbrush art as a basic material for illustration, the commercial and advertising industry can able to publicize their product in a well-versed way.
What is an airbrush?
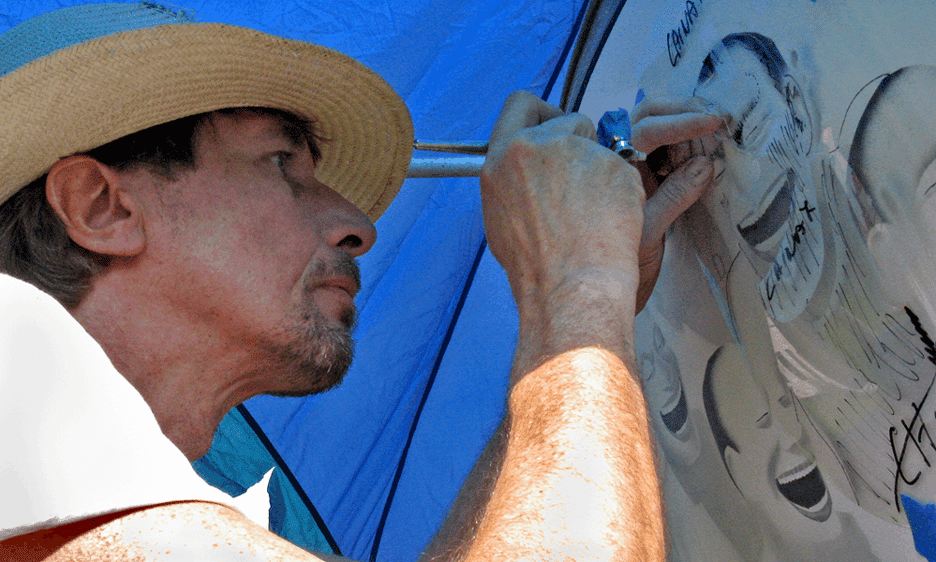
The airbrush is a fascinating and extremely versatile tool to paint and draw whatever you want. And with its help, you can create a wonderful illustration, both through the use of special masks and by calibrating different shades. The airbrush is held in hand like a pen. Through it, you can draw a painting by spraying the color using a nebulizer attached to an air compressor, which through a nozzle, to which a needle is inserted, which can be of different sizes, spread the pain.
The color is never used purely, but you have to dilute it and then put it in a special tank on which there is a button to press to let the colored paint come out at the moment of use. You can check out this acrylgiessen.com Airbrush Guide, here you get what you need to paint. Each surface requires different paints. For example, fabric or paper requires softer and more flexible paints. On the other hand, metal requires a harder type of paint.
The airbrush is suitable for spraying on paper, metal, fabric, even cakes, and nails. On the market, there are also airbrushes created specifically to be inserted in the markers. They are perfect for giving shaded effects. Besides, there are also airbrushes used by bodybuilders to paint cars. They consist of guns, usually large.
To better understand how to use an airbrush well, you must first know all the tool types.
Types Of Airbrush
There are different types of airbrushes. Let’s know each of them in brief:
Single action airbrush: In this type of airbrush, you can only control the air’s air. And you can do it in a single way, that is, by pressing the release button. This type of activity also helps to maintain the health and mental fitness.
Independent double action airbrush: In this case, you can dose and control not only the air that comes out but also the quality of color. This type is the most widespread and also the most used. It allows us to obtain different shades of color and different intensity of the stroke. These two effects can be obtained by pressing the button vertically.
Controlled double action airbrush: This type of tool allows you to obtain air and color release gradually. And to do this, you have to press the same button. As soon as the button is pressed, the air comes out, and gradually the color also comes out. For more depth knowledge about it, check out the link The choice of our airbrush will therefore be made according to
-the use we want to make of it;
-the familiarity we have with it;
-with the effects, we want to obtain.
How to Use an Airbrush
It is necessary to apply a source of air to use an airbrush. It can be a spray can or a compressor. And if you want to use the airbrush optimally, you should equip yourself with a compressor, possibly with a tank, perhaps with the possibility of controlling the airflow.
Generally, an air compression of around 1.5 bar is used to work optimally. But if you need to make very fine lines, you will have to raise the air pressure in the compressor, even reaching 3 bar.
Once you’ve adjusted your air source, you’ll need to familiarize yourself with the airbrush. Hold it between your fingers and initially try to let out only the air. Place your hand in front of the flow to see how much air comes out.
The airbrush is used with one color at a time, inserted in the tank with the right dilution. When you want to create a gradient between two colors, you will first have to paint with the first color, then change the tank’s color and paint with the second color.
Each type of color (acrylic, varnishes, etc.) has its own type of dilution. In general, the color must have the liquid’s consistency and not have lumps, which could clog the outlet nozzle.
Try to put the color in the tank and use the airbrush on a sheet of paper. You will have to become familiar with the button for the flow of air and color.
Depending on how you move your hand (fast or slow), you will have more or less color on the paper, more or less a thin line. Even moving your hand closer or away from the paper will have different effects and traits.